Compose is a tool for defining and running complex applications with Docker. With Compose, you define a multi-container application in a single file, then spin your application up in a single command which does everything that needs to be done to get it running. This post demonstrates how you can deploy WordPress and PhpMyAdmin application with LAMP (Linux Apache MySQL/MariaDB and PHP) using the docker-compose. In our previous post, we have shown you the installation and usage of docker-compose on Ubuntu 14.04 by deploying the test image from the docker hub. Today we’re going demonstrate the steps to install WordPress and PhpMyAdmin with docker-compose to install these applications directly from the docker hub from there available images.
We will be distributing this post in two parts, in the first part we need to create the two containers that are WordPress and MariaDB as both are available in there separate images. After that, we will be deploying the PhpMyAdmin using the docker-compose container and the integration with WordPress.
Requirements:
The basic requirement to install WordPress and PhpMyAdmin with Docker Compose is that you should have an Ubuntu instance with the latest updates. It should have Docker and docker-compose installed on your Ubuntu server. You can refer to our previous post on ‘How to install and use Docker Compose on Ubuntu 14.04”.
So, Once are ready with the prerequisites then you can start deployment of your WordPress, MariaDB and PhpMyAdmin containers with docker-compose and so on.
Installing WordPress with docker-compose:
Login to your ubuntu 14.04 server using ssh or command-line interface. Run the command below to check the status of the docker service that should be in running state.
ubuntu@ubuntu-14:~$ service docker status
docker start/running, process 28472
Then create a new directory naming with ‘WordPress’ and switch into this to create a new YML file where we will be doing the configuration of the new container in it.
$ mkdir wordpress
$ cd wordpress/
ubuntu@ubuntu-14:~/wordpress$ vi docker-compose.yml

Once the docker pull process complete, you will see some errors at the end of the process missing ‘WORDPRESS_DB_HOST‘ and MYSQL_PORT_3306_TCP environment variables.
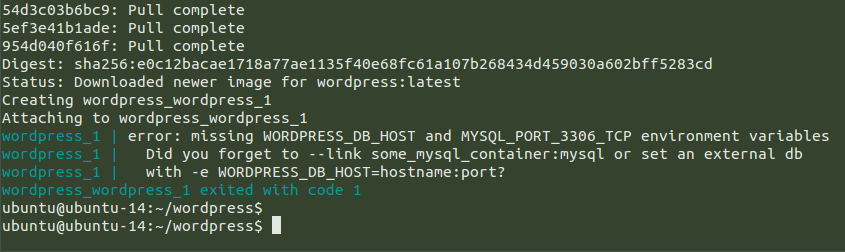
To fix this Error message we need to set up its database using the MariaDB docker image. So in the next step, we are going to pull the MariaDB docker image and link it to ‘WordPress’.
Installing MariaDB Container:
To create a link between the WordPress container and MariaDB container, Open the same ‘docker-compose.yml’ file and then append in the following way.
ubuntu@ubuntu-14:~/wordpress$ vi docker-compose.yml
wordpress:
  image: wordpress
  links:
    - wordpress_db:mysql
wordpress_db:
  image: mariadb
Here in the configuration file of docker-compose, we have defined a link that is mysql used by the wordpress_db next, we have defined the new container name as wordpress_db which refers to the new mariadb image that will be downloaded from the docker hub after saving this file and then executing the below command.
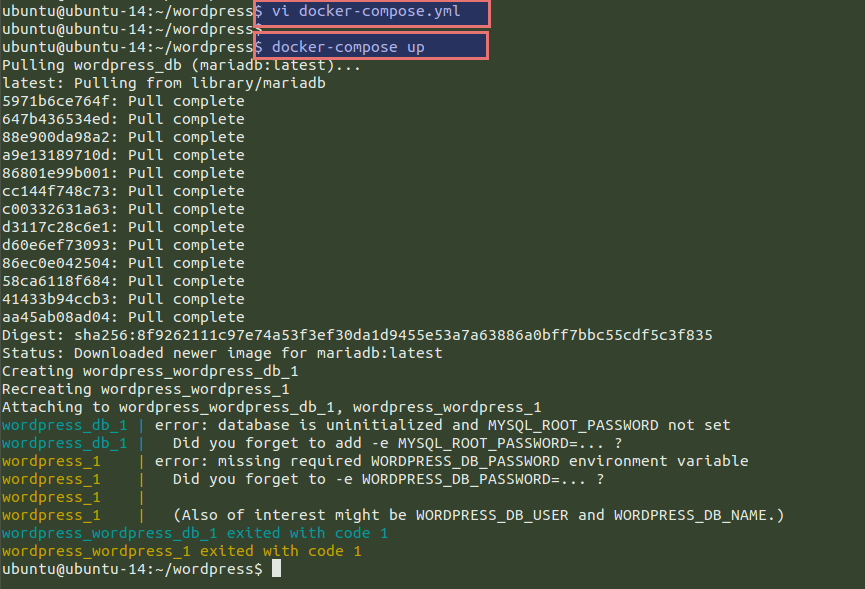
ubuntu@ubuntu-14:~/wordpress$ docker-compose up
After completing the installation process of MariaDB, you will see some errors like “database is uninitialized and MYSQL_ROOT_PASSWORD not set” and “missing required WORDPRESS_DB_PASSWORD environment variable” as shown in the below image.
Configuring WordPress Environment Variables:
Open the main docker-compose configuration file using any of your command line editor and configure the required environment variables. Here we will be setting up the MYSQL_ROOT_PASSWORD and the ports forwarding from the 8080 to default webserver port 80 by making the following changes under wordpress and wordpress_db references respectively.
ubuntu@ubuntu-14:~/wordpress$ vi docker-compose.yml
ports:
- 8080:80
environment:
    MYSQL_ROOT_PASSWORD: password
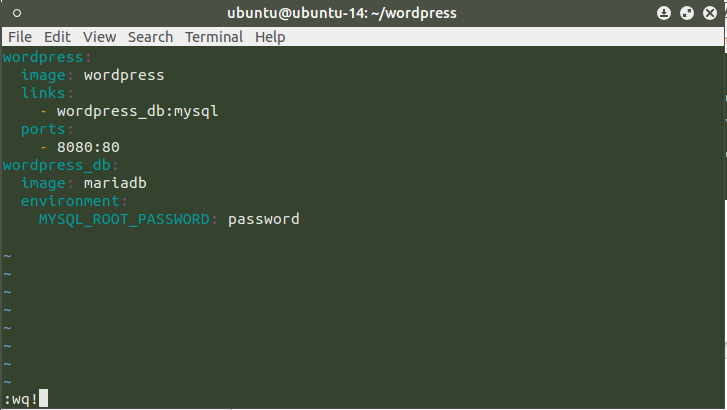
Your final configuration file should like the same as shown below.
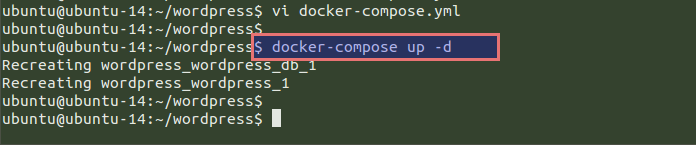
Now within the same WordPress folder run the docker-compose command to recreate the WordPress containers.
Now you can access your WordPress web portal from any of your web browsers by giving your fully qualified domain name or the IP of your server with port ‘8080’. You will be able to see the WordPress installation setup on your browser.
http://your_server_IP:8080
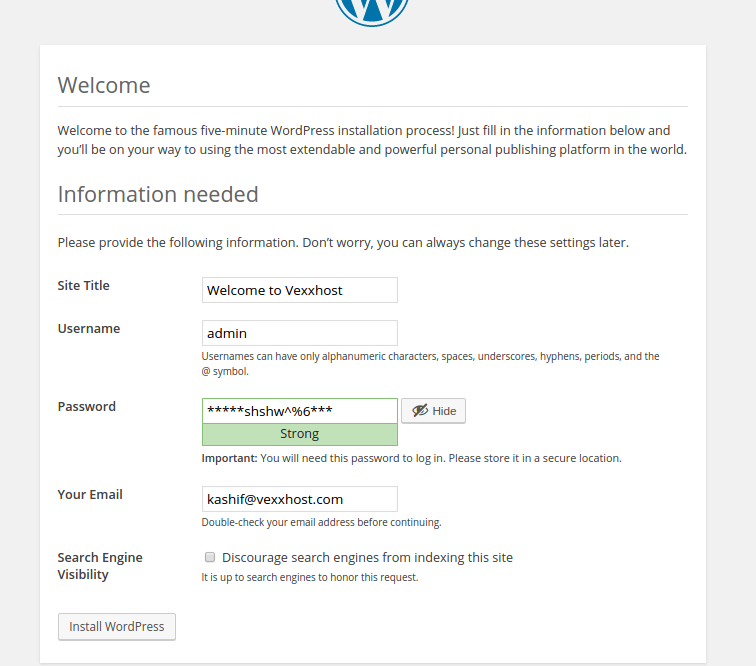
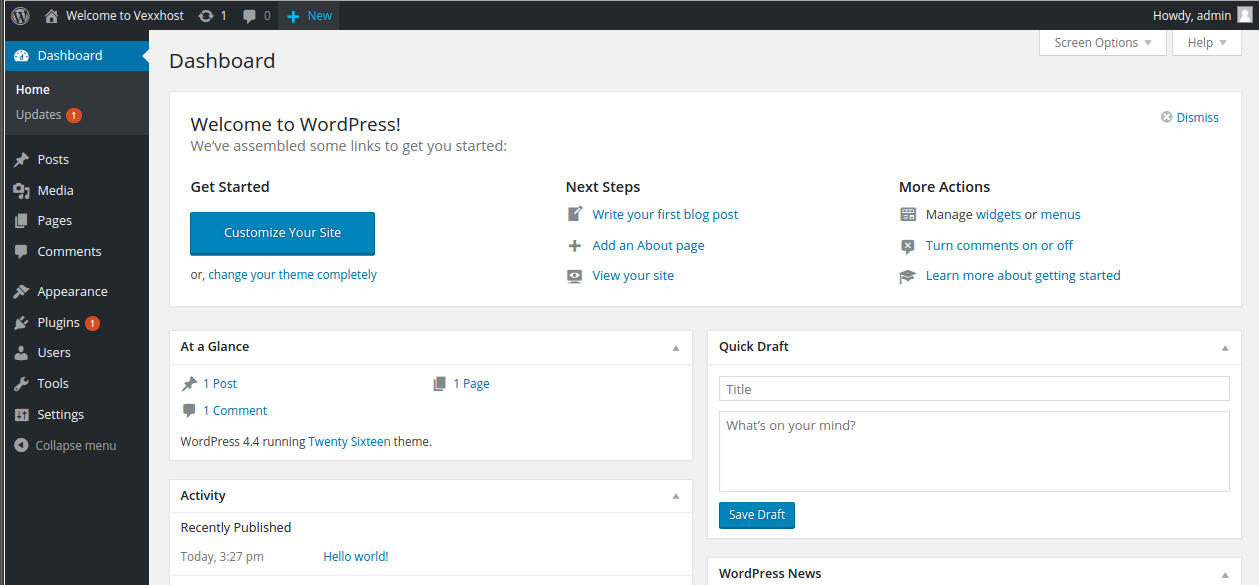
After installing the WordPress you can log in with your user name and password to access your WordPress web portal.
Adding PhpMyAdmin Container to WordPress Container:
Now the second part begins, here we will be showing you the steps to install PhpMyAdmin a community developed image then links it to the wordpress_db by making some configuration changes in the same ‘docker-compose.yml’ file within the ‘WordPress’ directory.
Let’s open it using any command-line editor and then append with the following configurations in it.
phpmyadmin:
  image: corbinu/docker-phpmyadmin
  links:
    - wordpress_db:mysql
  ports:
    - 8181:80
  environment:
    MYSQL_USERNAME: root
    MYSQL_ROOT_PASSWORD: password
Your final configuration file should be looks like the same as shown below and make sure that you keep the same password under the environment variables.

After saving the configurations once again run the docker-compose command to create and start the container, append your command with ‘-d’ if your wish to run the process in the background.
ubuntu@ubuntu-14:~/wordpress$ docker-compose up -d

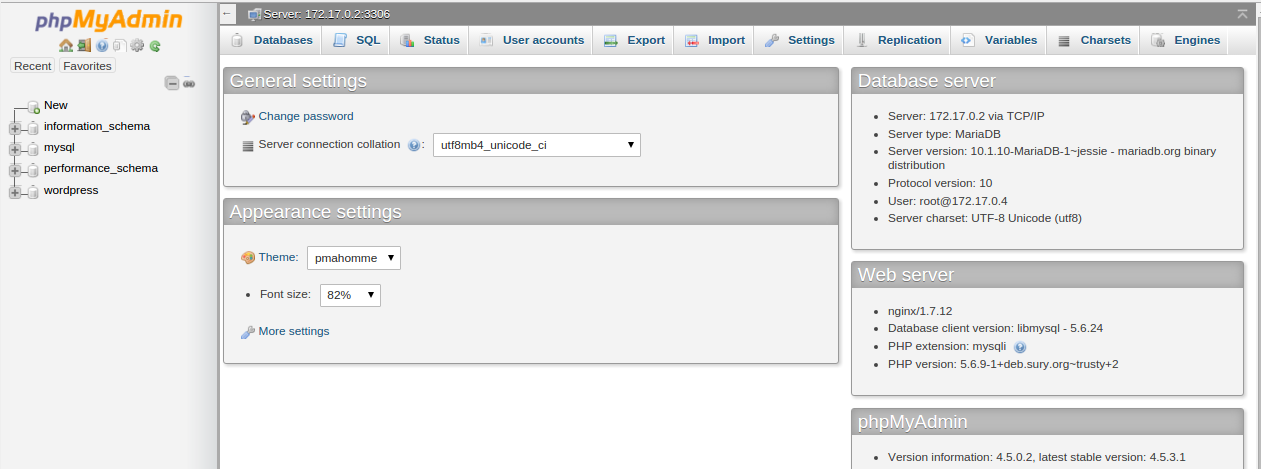
Once the pulling process is finished, then open your server’s IP address using port ‘8181’. You will see the login screen of PhpMyAdmin. Login using the same credentials that you have configured in your .yml file then you will be directed toward the web interface of PhpMyAdmin.
http://your_servers_ip:8181
Conclusion:
Congratulations, we have successfully installed WordPress and PhpMyAdmin using the Docker Compose containers on our Ubuntu 14.04 server. Like the same way, you create any application depending upon their availability of image on docker hub. Docker Compose makes dealing with the orchestration processes of Docker containers such as starting up, shutting down, and setting up intra-container linking and volumes really easy. Thank you for reading this article we hope you have got this much helpful. Feel free to get back to us in case of any difficulty.
Would you like to know about Zuul, a CI/CD project gating tool? Download our white paper and get reading!